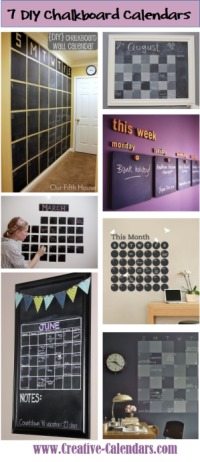
 7 Great DIY Chalkboard Calendars
Chalkboard calendars not only look great but they are also very functional. They can be made with magnetic chalkboard paint so that you can not only write on them but hang memos too!
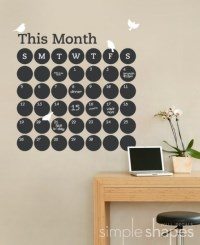
Don’t want to paint on the walls?
There is another method that you can use to create a similar calendar. Momtastic created a wall calendar using chalkboard contact paper (which can be cut using an Exacto Knife). Cut out the squares using the chalkboard contact paper and stick it to the wall.
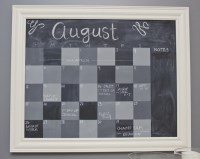
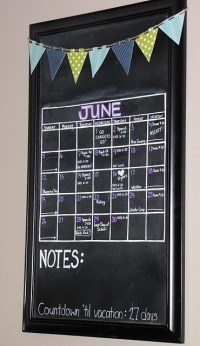
I like that Liz added a rectangle for the month and when I ever get around to making this calendar I’ll add that too.
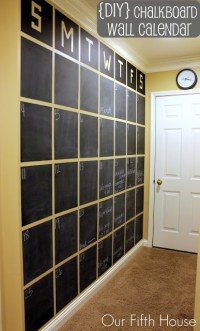
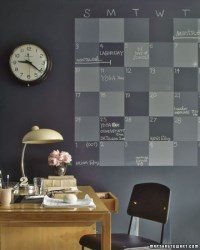
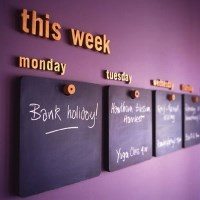
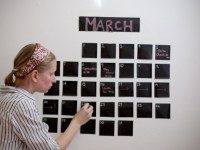
One of the most creative, useful and easy wall calendars can be made using chalkboard paint. You can use masking tape to create the shape and ensure that the lines are straight. Once you have created the frame with masking tape you paint the wall with magnetic and/or chalkboard paint and you have a wall calendar that looks great, you can write on with chalk and you can also stick memos on with a magnet. How cool is that!
We have chosen some creative chalkboard calendars that might inspire you to make your own.
These calendars look so good that they are not only super functional but also make great wall murals and add interest to dull walls.
Equipment required
- Masking tape (make sure that you use tape that does not peel the paint off the walls)
- Magnetic and/or chalkboard paint or chalkboard contact paper if you don’t want to paint on the walls
- Foam roller
- Chalk
- Letter stickers (for the first letter of each day of the week) – optional
How do you make these wall calendars?
- Make the plan for this calendar on paper. Create a table on the wall with 7 lines and 7 columns. 5 of the lines will be used for each of the days of the month, one line for the days of the week and one line for the name of the month. You do not have to include all of these lines if you don’t want to include the days of the week or the name of the month. Decide what you want and make the plan on paper. Measure the space available and then write the length of each of the lines. Don’t forget to take into account the width of the tape.
- Use a pencil to make marks on the wall before you start sticking the masking tape. Using a level make little marks on each line to ensure that your lines are straight.
- Remember that the thicker the masking tape the wider the line between each line will look. Masking tape can be purchased in various widths. Find the width that will best suit the space that you have available on the wall that you are planning to paint.
- Using letter stickers stick the first letter of each day of the week in the relevant square. If you don’t have stickers then you can just form the letters using tape or trace them and paint them on the wall.
- You can use either magnetic paint or chalkboard (blackboard) paint. Magnetic paint usually serves both functions but it is more expensive. If you want to stick memos, photos, notes, etc on your calendar then try to get magnetic paint.
- Using a foam roller paint all the squares that you marked off with masking tape.
- When the paint is dry carefully remove the tape.
Your calendar is ready!
At the beginning of each month, write in the days of the week with chalk.

